ShareX Image Capture from Click to Output
Follow a single image from the capture overlay through annotation, effects, and final output.
ShareX is a powerful and versatile tool for capturing images on your Windows desktop. From simple screenshots to complex region selections and scrolling captures, ShareX provides a wide array of options to perfectly frame what you need. After capturing, you can enhance, annotate, and process your images with various built-in tools before saving or sharing them. This guide walks you through the entire ShareX image capture workflow, from selecting your capture mode to reviewing your finished images.
Capture Modes and What Each One Includes
ShareX offers numerous image capture modes to suit different scenarios. You can access these modes primarily from the main window's "Capture" menu or by configuring custom hotkeys for quick access. Each mode is designed for a specific purpose, ensuring you can always get the exact image you need.
Full Screen
This mode captures everything visible across all your connected monitors. It's ideal for capturing your entire desktop environment.
Active Window
When you select "Active Window," ShareX captures only the currently focused application window, excluding its shadow or border if configured. This is useful for isolating a specific program's interface.
Window List
Choosing "Window List" presents you with a list of all open windows. You can then select one or more windows from this list to capture them. This is particularly helpful when you have many windows open and need to precisely pick which ones to capture.
Monitor
This option allows you to select a specific monitor to capture if you have multiple displays. ShareX will present an overlay showing your monitors, and you can click the one you wish to capture.
Region
"Region" is one of the most frequently used capture modes. It allows you to draw a rectangular selection box on your screen to capture only that specific area.
- Select "Capture" > "Region" from the main window, or use its assigned hotkey.
- Click and drag your mouse to define the desired rectangular area.
- Release the mouse button to finalize the capture.
For more advanced region selection, you can hold down the Shift key while drawing to capture a perfect square, or hold Ctrl to adjust the selection from the center. ShareX also provides pixel-perfect controls by holding the mouse button down and using the arrow keys to fine-tune the selection borders.
Last Region
After using "Region," "Last Region" quickly recaptures the exact same area you selected previously. This is a time-saver if you need to take multiple screenshots of the same screen section.
Scrolling Capture
This powerful feature captures content that extends beyond the visible screen, such as a long webpage or document.
- Select "Capture" > "Scrolling Capture."
- Click on the window you wish to scroll and capture.
- ShareX will automatically scroll the window and stitch together the captured sections into a single image.
For more details on these and other capture options, refer to the
screen capture explainedguide. Many options related to how captures behave, such as including the mouse cursor or transparent windows, can be configured in the
capture settings reference.
The Annotation Pass
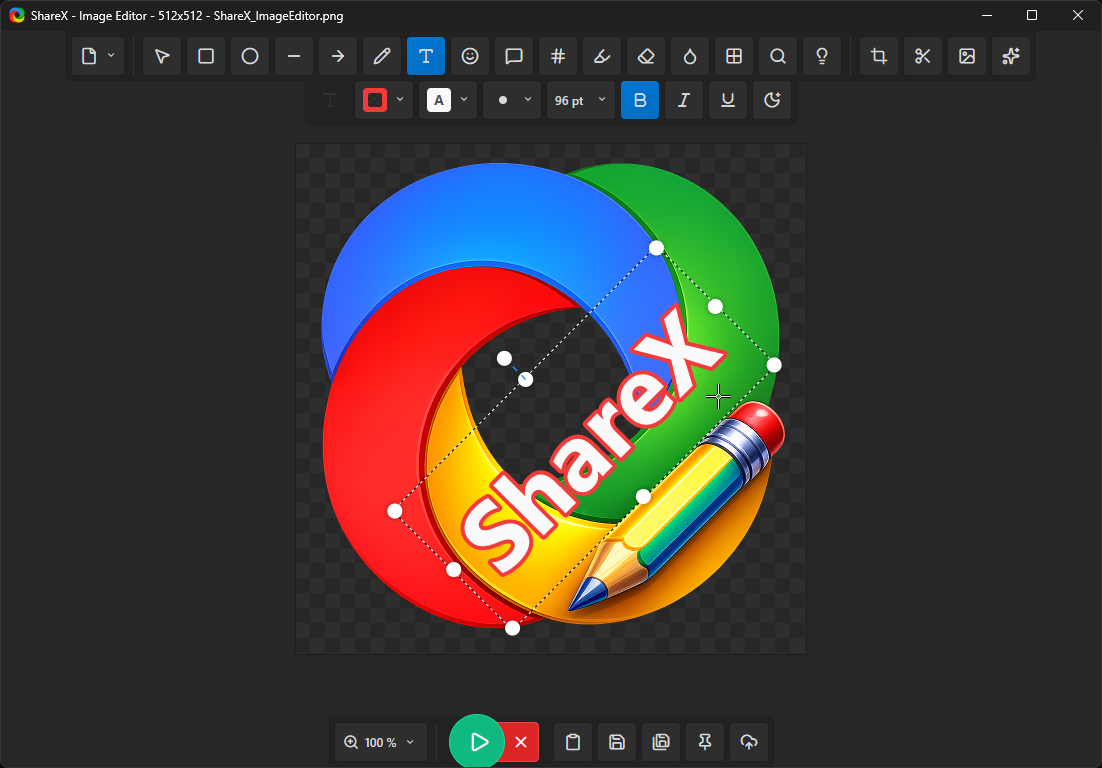
After an image is captured, ShareX can automatically open it in its built-in image editor, allowing you to annotate, highlight, or obscure parts of the image before it's saved or uploaded. This "Annotation Pass" is an "After capture task" that can be enabled or disabled in "Task settings."
Using the Image Editor
The ShareX image editor provides a comprehensive set of tools for post-capture modifications.
- **Text Tool:** Add text labels to your image. You can customize font, size, color, and background.
- **Rectangle, Ellipse, Line, Arrow Tools:** Draw shapes to highlight specific areas. Adjust color, thickness, and fill options.
- **Highlighter:** Apply a translucent color overlay to emphasize text or areas without obscuring them.
- **Step Tool:** Add numbered steps to guide viewers through a process. ShareX automatically increments the numbers.
- **Obfuscator/Pixelate:** Blur or pixelate sensitive information, such as passwords, email addresses, or personal data.
- **Crop Tool:** Refine the image by removing unwanted edges.
- **Image Tool:** Insert other images onto your capture.
For a detailed overview of all the features and how to use them, consult the
image editor documentation. Once you've finished annotating, click the "Apply" button (the checkmark icon) to save your changes to the capture.
Cropping, Resizing, and Combining Images
Beyond annotation, ShareX offers dedicated tools for manipulating image dimensions and combining multiple images.
Cropping Images
While the image editor includes a crop tool, you can also set cropping as an "After capture task." This allows you to define a specific area to crop automatically every time you take a screenshot, or to crop interactively after the capture. To set up automatic cropping:
- Go to "Task settings" > "Image" > "Crop."
- Enable "Crop image."
- You can specify fixed coordinates and dimensions, or choose "Interactive crop" to manually select the crop area after each capture.
Resizing Images
Resizing can also be configured as an "After capture task." This is useful for reducing file size or fitting images into specific dimensions.
- Navigate to "Task settings" > "Image" > "Resize."
- Enable "Resize image."
- You can set a fixed width or height, a percentage, or a maximum width/height. ShareX can maintain aspect ratio if desired.
Combining Images
ShareX includes an "Image Combiner" tool to merge multiple images into one. This is found under "Tools" in the main window.
- Select "Tools" > "Image Combiner."
- Drag and drop the images you want to combine into the Image Combiner window.
- Arrange the images as desired (horizontally or vertically).
- Adjust spacing, background color, and alignment.
- Click "Combine" to create the single merged image.
This is particularly useful for creating side-by-side comparisons or compiling a series of related captures.
Image Effects and Watermarks
ShareX allows you to apply various image effects and add watermarks to your captures, either manually through the image editor or automatically as "After capture tasks."
Image Effects
A wide range of effects can be applied, from basic adjustments like brightness and contrast to more artistic filters.
- Go to "Task settings" > "Image" > "Effects."
- Enable "Apply effects."
- Click "Image effects configuration" to open the effects editor.
- In the editor, you can add multiple effects from categories like "Adjustments," "Filters," "Drawing," and "Other."
- Each effect has customizable parameters (e.g., blur radius, shadow color).
- You can preview the effects and rearrange their order in the list.
- Click "OK" to save your effect preset.
Once configured, these effects will be automatically applied to all subsequent captures. You can explore many examples and possibilities in
the ShareX image effects gallery.
Watermarks
Adding a watermark can help identify the source of an image or protect intellectual property.
- Go to "Task settings" > "Image" > "Watermark."
- Enable "Apply watermark."
- Click "Watermark configuration" to open the watermark editor.
- You can create text watermarks (custom text, font, color, opacity, position) or image watermarks (select an image file, adjust opacity, size, position).
- Multiple watermarks can be added and layered.
- Click "OK" to save your watermark preset.
Watermarks will then be automatically applied to your captures.
Format Choices: PNG, JPEG, and File Size
ShareX supports various image formats for saving your captures, with PNG and JPEG being the most common. The choice of format significantly impacts file size and image quality. You can configure the default image format in "Task settings."
PNG (Portable Network Graphics)
- **Lossless Compression:** PNG images are compressed without any loss of quality. This means every pixel of the original capture is preserved.
- **Transparency Support:** PNG supports alpha channels, allowing for transparent backgrounds, which is crucial for capturing windows with transparent elements or creating overlaid images.
- **Best for:** Screenshots with text, sharp lines, solid colors, and areas of transparency. It's the ideal choice for most technical documentation and UI captures where fidelity is paramount.
- **File Size:** Generally larger than JPEG for photographic content, but often smaller for screenshots with large areas of uniform color.
To configure PNG settings:
- Go to "Task settings" > "Image" > "Image format."
- Select "PNG" from the "Image format" dropdown.
- You can adjust the "PNG compression level" (0-9). Higher levels offer smaller file sizes but take longer to compress.
JPEG (Joint Photographic Experts Group)
- **Lossy Compression:** JPEG uses lossy compression, meaning some image data is discarded to achieve smaller file sizes. This loss is often imperceptible for complex images but can be noticeable on sharp edges or text.
- **No Transparency Support:** JPEG does not natively support transparency. Transparent areas will typically be rendered as solid white or black.
- **Best for:** Photographs or images with continuous tones and smooth gradients. Not recommended for screenshots containing text, diagrams, or user interface elements where clarity of lines is important.
- **File Size:** Significantly smaller than PNG for photographic content, making it suitable for web use where bandwidth is a concern.
To configure JPEG settings:
- Go to "Task settings" > "Image" > "Image format."
- Select "JPEG" from the "Image format" dropdown.
- Adjust the "JPEG quality" slider (1-100). Lower quality means smaller file size but more noticeable compression artifacts. A quality of 80-90 is often a good balance.
Other Formats
ShareX also supports other formats like GIF (for animated captures, not static images), BMP, and TIFF. For general image capture, PNG is recommended for its quality and transparency, while JPEG is suitable for photographic content where file size is critical.
Reviewing Captures in the History Window
ShareX maintains a detailed history of all your captures, uploads, and actions, which is an invaluable resource for reviewing, managing, and re-using your images.
Accessing the History Window
You can open the "History" window from the main ShareX window by clicking "History" in the left-hand menu.
Navigating and Filtering
The "History" window displays a list of your past actions, including a thumbnail preview of captured images.
- **Search Bar:** Use the search bar at the top to filter items by file name, date, or destination.
- **Date Filters:** Quickly filter by specific date ranges (e.g., "Today," "Last 7 days," "This month").
- **Type Filters:** Filter by action type, such as "Image," "Text," "File," or "All."
Managing Past Captures
For each item in the history, you can perform various actions by right-clicking on it:
- **Open:** Opens the image in your default image viewer.
- **Edit image:** Opens the capture in the ShareX image editor for further annotation or modification.
- **Copy image:** Copies the image to your clipboard.
- **Copy file:** Copies the image file to your clipboard.
- **Copy URL:** If the image was uploaded, copies the URL to your clipboard.
- **Upload/Reupload:** Uploads or re-uploads the image to your configured destination.
- **Delete:** Deletes the item from history and optionally deletes the associated file from your hard drive.
- **Open file location:** Opens the folder where the image file is saved.
The history window ensures that even if you forget to save an image or lose its URL, you can always find and retrieve it later.
Frequently Asked Questions
How do I capture a specific area of my screen with pixel-perfect precision?
Use the "Region" capture mode. After clicking and dragging to define your region, hold down the mouse button and use the arrow keys on your keyboard to precisely adjust the selection boundaries pixel by pixel. This allows for extremely accurate framing.
Can I automatically add a border or shadow to all my captures?
Yes, you can configure this as an "After capture task." Go to "Task settings" > "Image" > "Effects," enable "Apply effects," and then click "Image effects configuration." Add effects like "Border" or "Shadow" from the available options and customize their appearance.
My captured images are too large; how can I reduce their file size?
You have a few options. First, ensure you are using an appropriate image format; JPEG with a quality setting of 80-90 is often much smaller than PNG for photographic content. Second, you can enable "Resize image" in "Task settings" > "Image" to automatically scale down captures to a smaller resolution.
How do I quickly access my most recent capture?
You can find your most recent capture by opening the "History" window and looking at the top of the list. Alternatively, right-clicking the ShareX icon in the system tray provides quick options like "Open last image file" or "Copy last image to clipboard."
Can ShareX automatically save captures to a specific folder?
Yes, ShareX saves all captures to a designated folder by default. You can change this location by going to "Application settings" > "Path" and modifying the "Screenshots folder" path. You can also organize captures into subfolders based on date or application.
Get ShareX for Windows
ShareX is free and open source. Install it, then come back and try the steps above.
Download ShareX